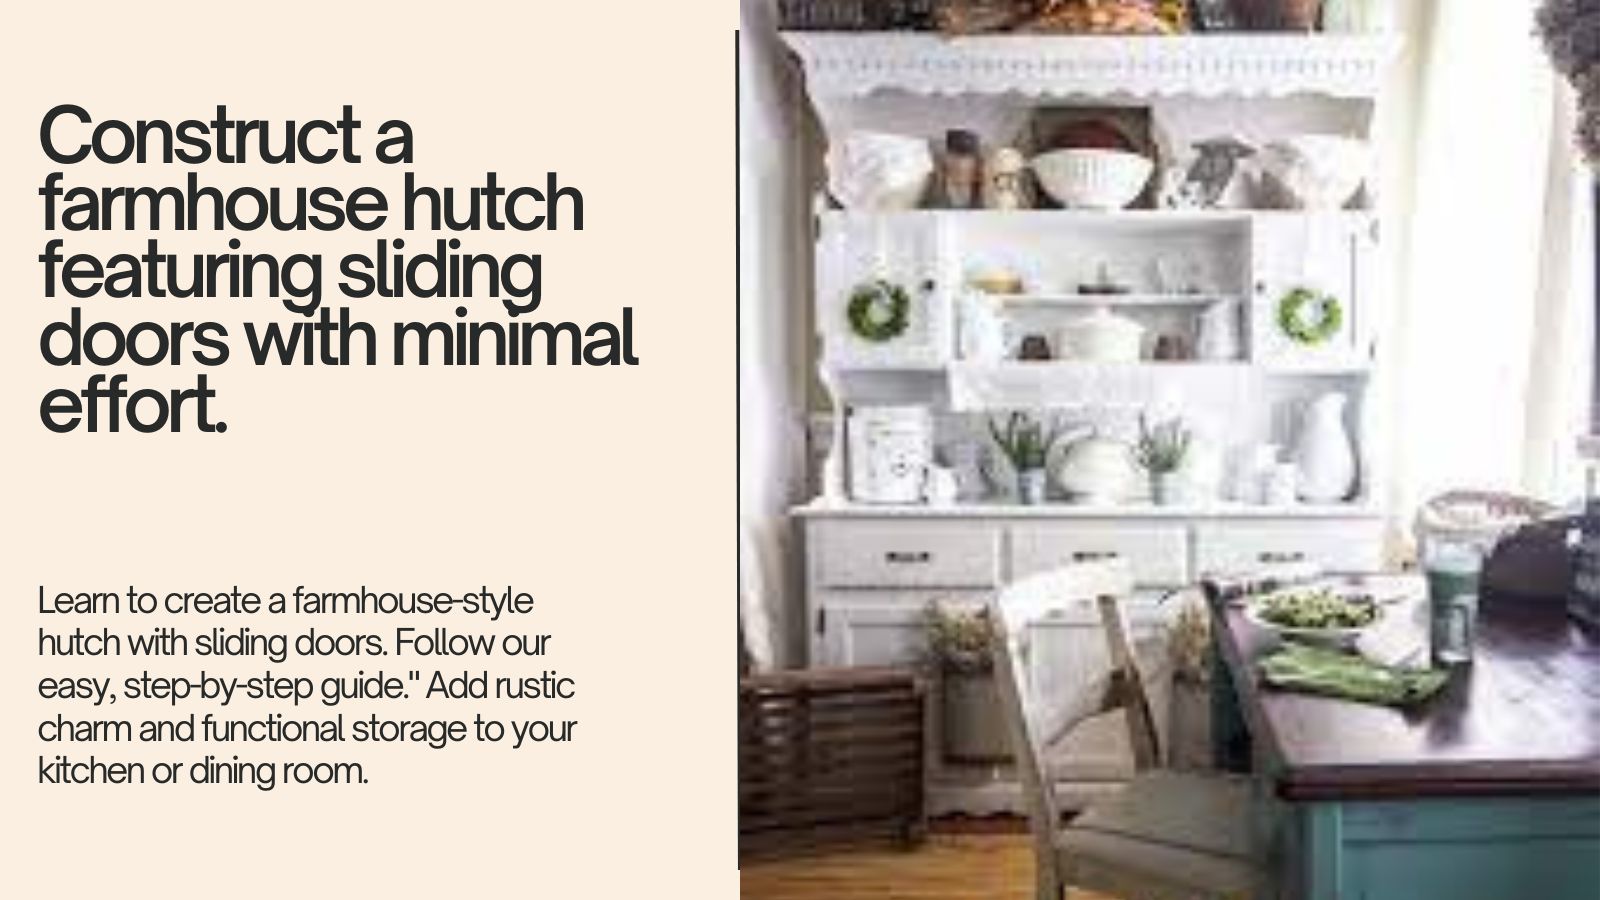
Learn to create a farmhouse-style hutch with sliding doors. Follow our easy, step-by-step guide.” Add rustic charm and functional storage to your kitchen or dining room.
Title: How to Create a Farmhouse-Style Hutch with Sliding Doors: A Step-by-Step Guide
Introduction
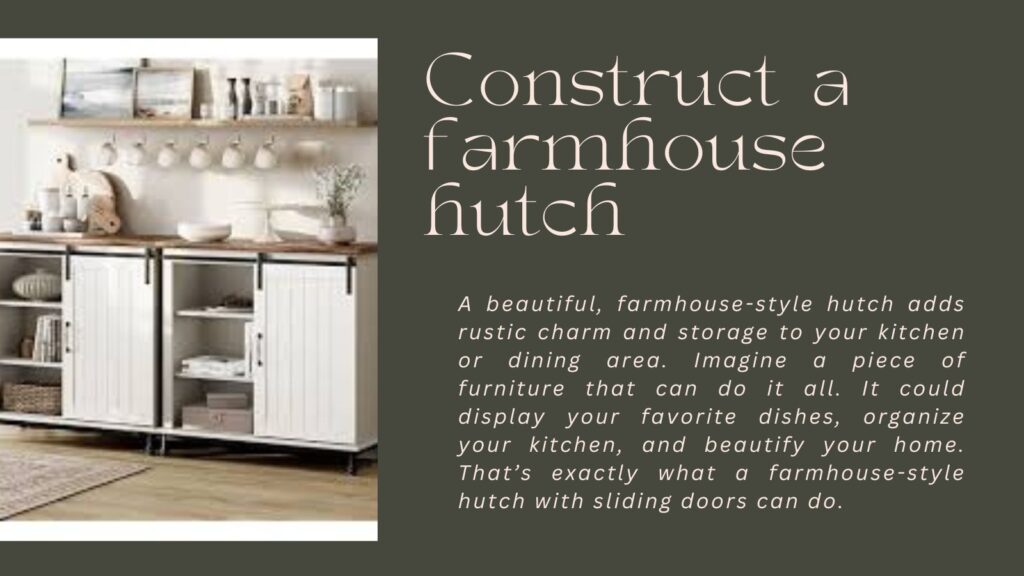
A beautiful, farmhouse-style hutch adds rustic charm and storage to your kitchen or dining area. Imagine a piece of furniture that can do it all.
It could display your favorite dishes, organize your kitchen, and beautify your home. That’s exactly what a farmhouse-style hutch with sliding doors can do.
This guide will teach you how to create a farmhouse-style hutch with sliding doors. This guide will help you, whether you’re a DIY pro or a beginner. It will help you achieve the perfect farmhouse look.
Materials and Tools Needed
Before diving in, it’s important to gather all the necessary materials and tools. Preparing everything in advance will save you time and help a smooth process.
Materials:
- Plywood sheets (for the base and shelving)
- Wood boards (e.g., pine for framing)
- Sliding barn door hardware kit (rails, rollers).
- Wood screws and wood glue
- Paint or wood stain (for finishing)
- Sandpaper (fine grit)
- Handles or knobs (optional)
- Hinges (optional for lower cabinet doors)
Tools:
- Drill and drill bits
- Measuring tape
- Circular saw or table saw
- Screwdriver
- Paintbrushes or rollers.
- Clamps (to hold pieces together while gluing)
Designing and Planning Your Hutch
The first step to creating a farmhouse-style hutch is designing it to fit your space. A typical farmhouse hutch has a lower cabinet and an upper shelf.
The cabinet hides items. The shelf displays favorite dishes, glassware, or décor.
- Determine the Dimensions: Measure the area where you want to place the hutch. Consider the height, width, and depth to ensure it fits well in your kitchen or dining room. You want it to be big enough to offer ample storage but not so large that it overwhelms the space.
- Sketch Your Design: Draw a rough sketch of your hutch to visualize the structure. Include the base cabinet, shelves, and sliding doors. It doesn’t have to be a masterpiece—a visual guide for building.
- Decide on Shelving Layout: How many shelves do you want in the upper and lower sections? The number and spacing of shelves will affect how much you can store and display.
Building the base cabinet.
The hutch’s base is its foundation. It also stores less decorative items. Let’s get started on building it.
- Cut the wood for the base: Using your saw, cut the plywood. Make two side panels, a bottom panel, a back panel, and a top. A ¾-inch plywood sheet works best for stability.
- Assemble the base: Use wood glue on the edges to join the panels. Then, secure them with screws for extra strength. Start with the bottom and side panels, then add the back panel. Once everything is square, attach the top panel.
- Add Optional Lower Cabinet Doors: If you would like to hide the items stored in the lower cabinet, you can add doors. Cut two panels to size and attach them with hinges. You can also add knobs or handles for easier access.
Adding shelving to the hutch.
The shelving is what makes a hutch so versatile. It allows you to display your beautiful dishes, plants, or other décor items.
- Measure and Cut Shelves: Measure the interior of the base and upper sections, then cut your shelves to fit. Ensure they are smaller than the width to allow for easy placement.
- Install Shelves: You can screw the shelves in for a fixed option. Drill holes in the side panels at equal intervals to use shelf pins for adjustable shelves. Adjustable shelves give you more flexibility to rearrange as needed.
Constructing the Upper Section
The upper section is where the charm of your farmhouse hutch is most evident.
- Build the Upper Frame: Use wooden boards to create the frame for the upper part of the hutch. This will include the two side panels, the back panel, and the top.
- Attach to the base: Position the upper section on the base cabinet. Use wood screws to secure it. You must center and level everything.
- Add Extra Shelves: Like the base, add shelves to the upper section. Leave enough height between them for larger items.

Installing Sliding Barn Doors
The hutch's sliding doors give it farmhouse charm. They add style and function.
- Measure and Cut the Doors: Measure the width and height of the upper section. Use these to size the sliding doors. Cut two panels from plywood or wooden boards for the doors.
- Attach Sliding Hardware: Install the sliding barn door hardware kit at the top of the hutch. Attach the rail using the instructions provided with the kit to ensure a firm connection. Ensure it is level so the doors will slide without obstruction.
- Attach the rollers: Fix the rollers to the top edge of each door. Once you attach the rollers, place the doors onto the rail. Adjust them as needed to ensure they slide with ease.
Finishing Touches
You have completed your hutch’s structure. Now, add the final touches for a true farmhouse look.
- Sand the surface: Use fine-grit sandpaper to smooth all surfaces of the hutch. This will help the paint or stain adhere better and provide a polished finish.
- Paint or stain the hutch: Choose a color that matches your farmhouse aesthetic. White, gray, or natural wood tones are popular choices. You could also opt for a chalk paint finish for an authentic rustic feel. If you prefer a distressed look, sand the edges after painting to reveal some of the wood underneath.
- Add Optional Handles: If you would like, add handles or knobs to the sliding doors for a more convenient grip. Black metal handles can add a nice contrast to a white or wood-toned hutch.
Tips for Achieving the Farmhouse Look
- Wood with Character: Use wood with visible grain and knots to emphasize the rustic look.
- After painting, use a fine-grit sandpaper to smooth the edges and corners. This will give the hutch a weathered, aged look.
- Reclaimed Wood Accents: Incorporate reclaimed wood for a unique touch. It adds both charm and sustainability.
Conclusion
Building a farmhouse-style hutch with sliding doors is a fun, rewarding project. It will create a stunning piece of furniture for your home.
This hutch will add warmth and charm to your kitchen or dining room. It will also provide practical storage and display options.
This farmhouse hutch will be a centerpiece in your home. Use it to display your dinnerware, store kitchen items, or add rustic décor.
So, roll up your sleeves. Gather your materials. Then, get ready to create a timeless piece that is both stylish and functional.
Call to Action
Have you ever built a piece of farmhouse furniture? I’d love to hear about your experience or see pictures of your DIY projects!
If you have questions about building your hutch, please comment below. And don’t forget to check out my other posts for more DIY inspiration and farmhouse décor ideas.
This blog post is informative and easy to follow. It has all the details your readers need to build a farmhouse-style hutch.

is a digital marketing consultant with a passion for advanced living, is the man behind this blog, where he shares his love for all things kitchen and culinary trends to help you elevate your cooking experience.


